Welcome to Cookaholic Wife! Here you'll find a variety of recipes, from decadent to health conscious, as I love to cook and bake just about anything. Cooking and baking should never be difficult or stressful, which is why so many of my recipes include basic ingredients!
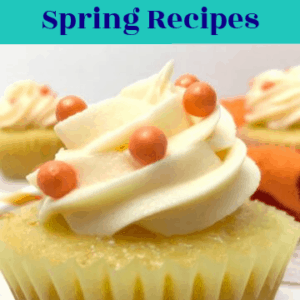
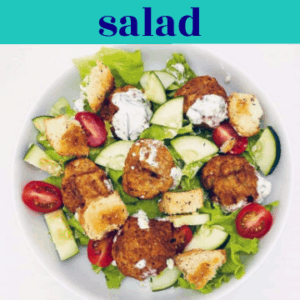
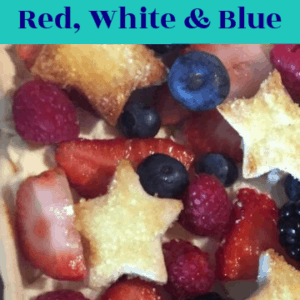
Seasonal and Holiday Recipes

Recent Recipes
Here are the 4 most recent recipes on Cookaholic Wife. Check back frequently as this is always changing, or visit my Recipe Page to see all of my recipes!
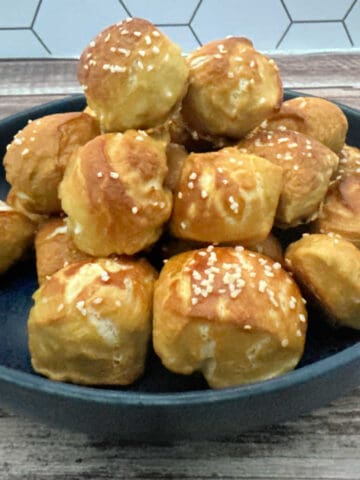
- Soft Pretzel Bites35 Minutes
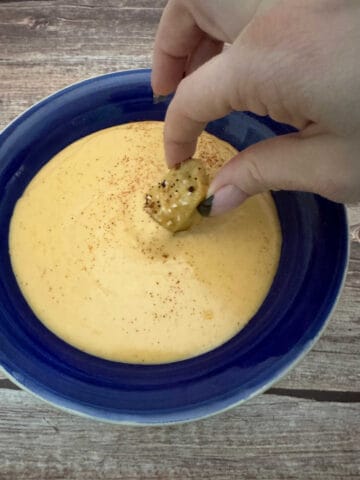
- Homemade Spicy Cheese Sauce22 Minutes
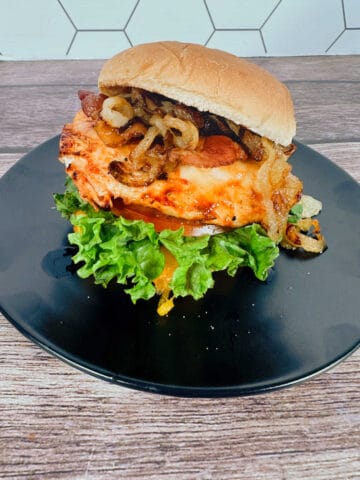
- Cowgirl Chicken Sandwiches
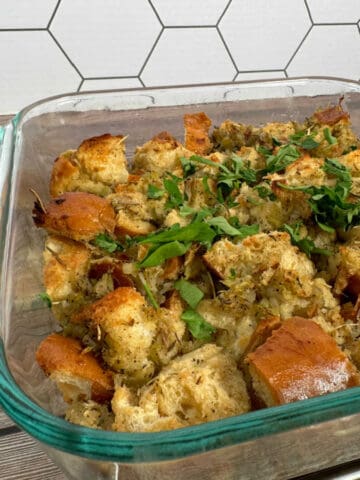
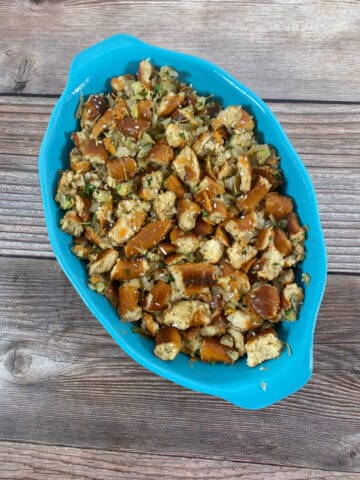
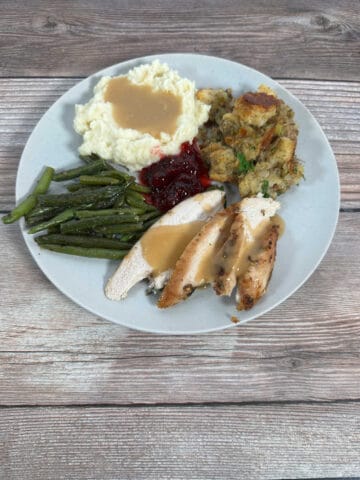
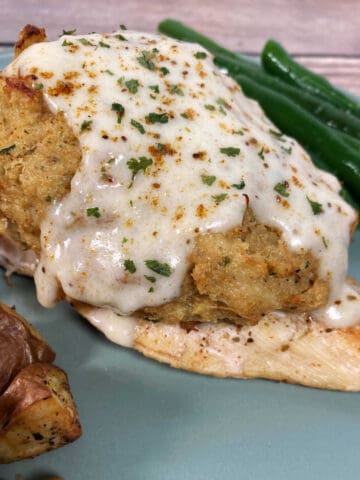
- Old Fashioned Celery and Onion Stuffing53 Minutes
Recently Updated
I've been blogging for over a decade. Here are the recipes I've most recently updated to be more delicious for you!
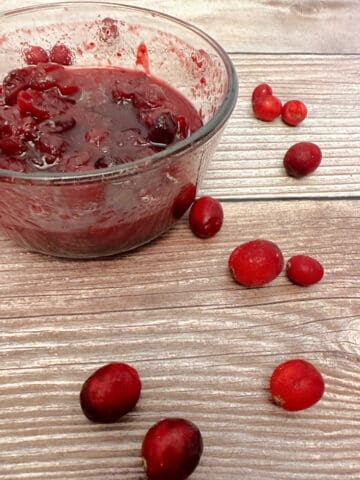
- Pomegranate Cranberry Sauce25 Minutes
- Thanksgiving Soft Pretzel Stuffing1 Hours
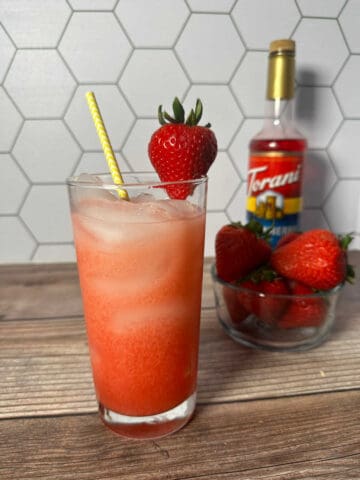
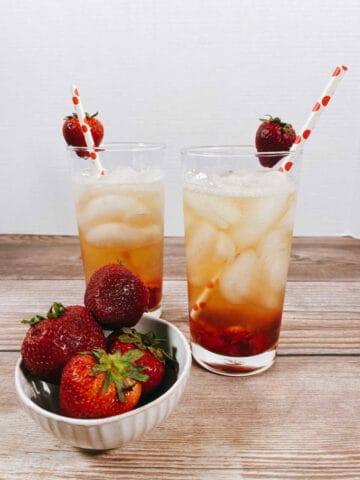
- Strawberry Italian Cream Soda5 Minutes
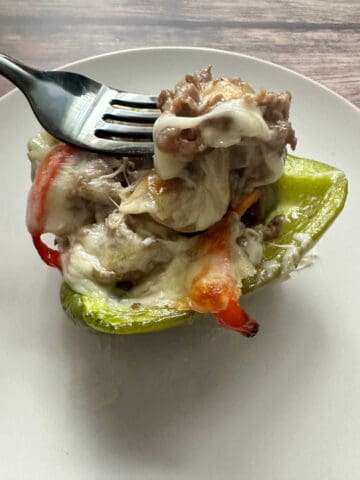
- Cheese Steak Stuffed Peppers35 Minutes
- Brown Sugar and Apple Turkey Breast1 Hours 30 Minutes
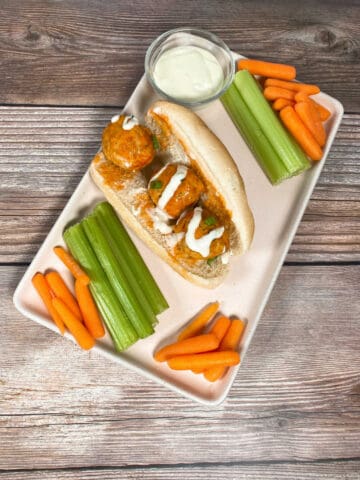
- Buffalo Chicken Meatballs23 Minutes
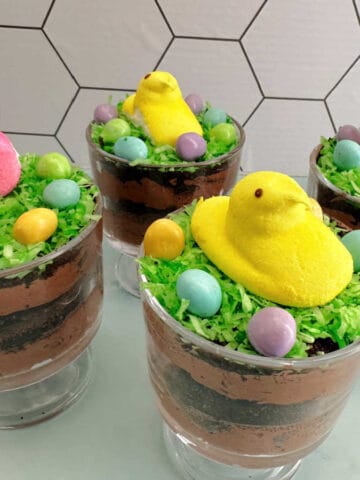
- Easter Dirt Cake15 Minutes
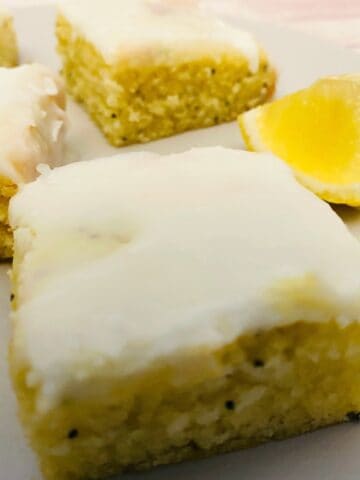
- Lemon Poppyseed Bars35 Minutes
Looking for something specific?
Trending Recipes
Check out the 8 recipes that are currently trending on Cookaholic Wife right now! These are tried and true recipes that you are sure to love!
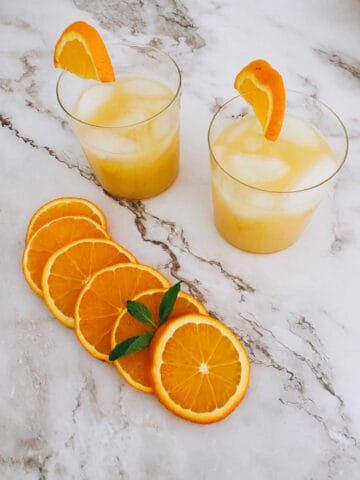
- Bulleit Bourbon Orange Crush5 Minutes
- Maryland Chicken Chesapeake50 Minutes
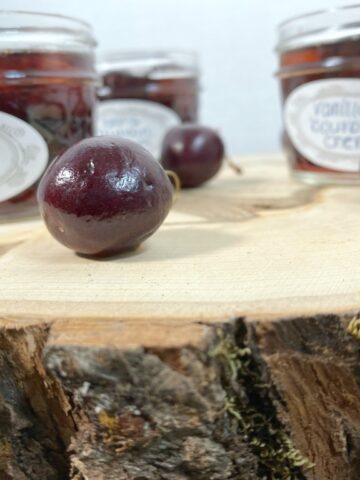
- Bourbon Soaked Cocktail Cherries30 Minutes
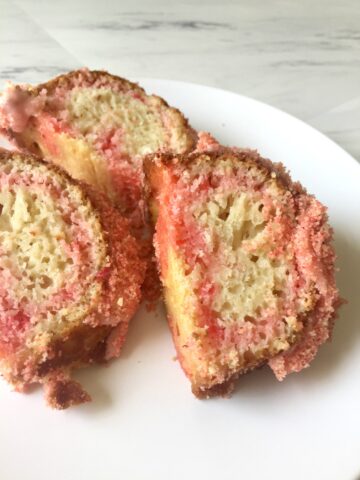
- Strawberry Crunch Bundt Cake1 Hours
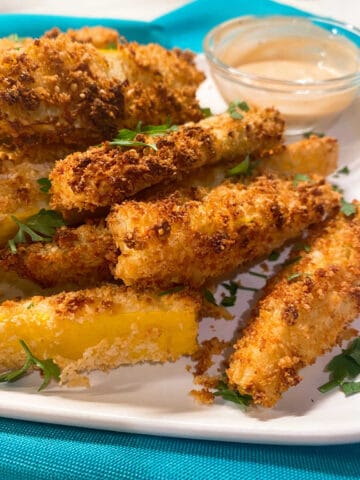
- Air Fryer Parmesan Squash Fries20 Minutes
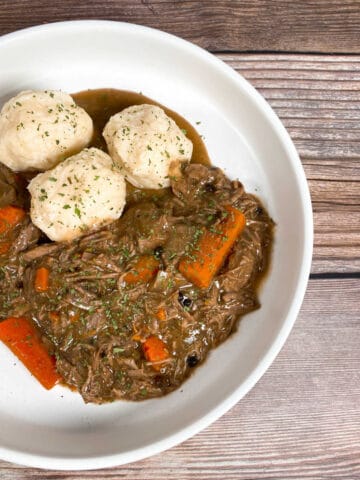
- Baltimore Sour Beef and Dumplings18 Hours 30 Minutes
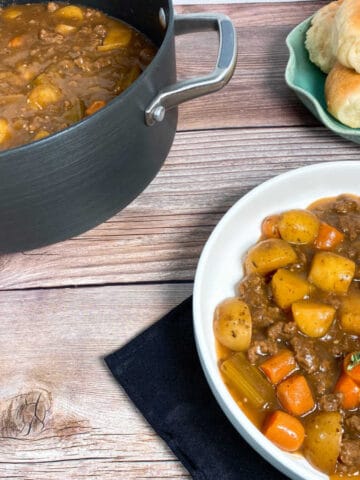
- Grandma's Ground Beef Stew1 Hours
- Boozy Bourbon Cupcakes40 Minutes
Cupcakes
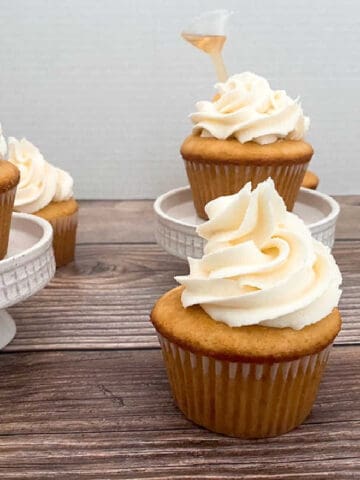
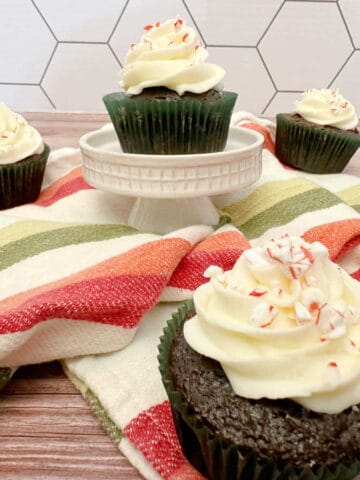
Cupcakes are probably my favorite dessert. Individually portioned and so many varieties! Bonus: nearly all of my cupcake recipes start with a box of cake mix. If it's not broken, don't fix it!
- Hot Fudge Chocolate Cupcakes50 Minutes
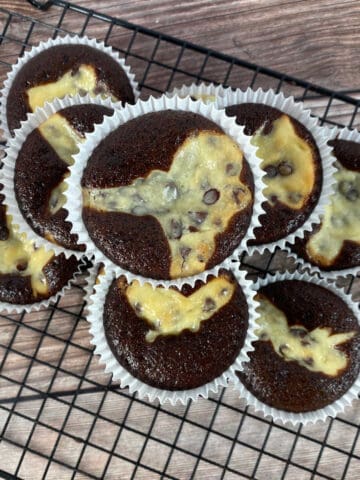
- Baltimore Black Bottom Cupcakes50 Minutes
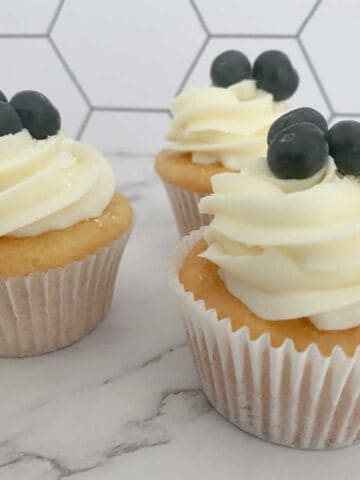
- Blueberry Surprise Lemon Cupcakes40 Minutes
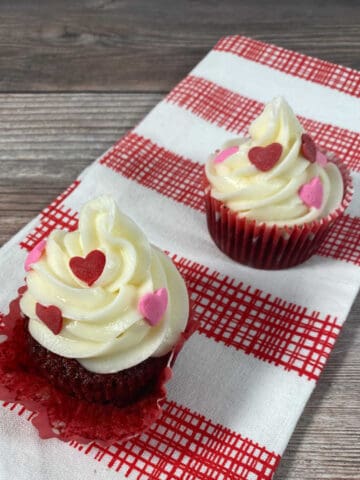
- Red Velvet Cupcakes35 Minutes
See more cupcake recipes →
Cocktails & Drinks
What's your favorite cocktail? Mine is anything that is made with bourbon.
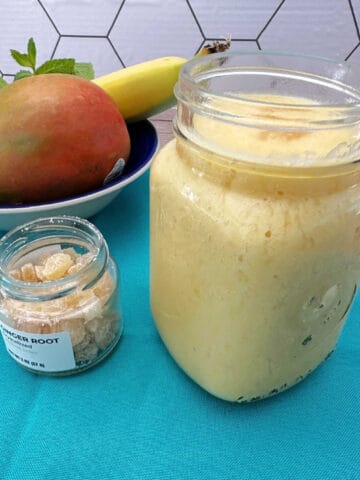
- Lemon Mango Ginger Smoothie5 Minutes
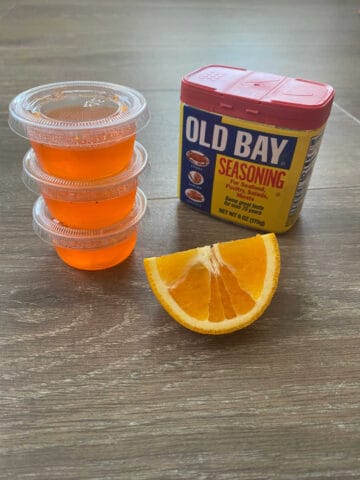
- Old Bay Crush Jello Shots4 Hours 10 Minutes
- Strawberry Basil Bourbon Smash5 Minutes
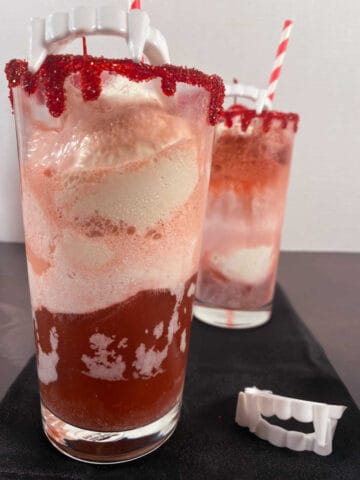
- Bloody Vampire Cherry Floats #HalloweenTreatsWeek
See more cocktail & drink recipes →
30 Minute Meals
Limited time in the kitchen? Not a problem. My collection of 30 Minute Meal recipes will have dinner on the table in no time.
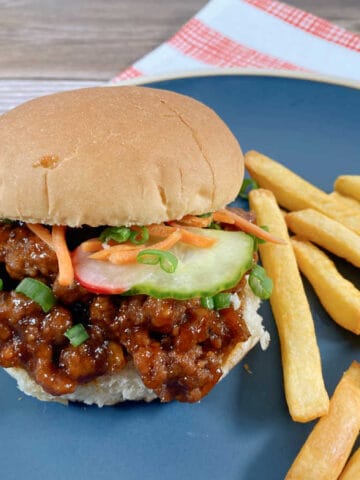
- Korean Sloppy Joe Sandwiches20 Minutes
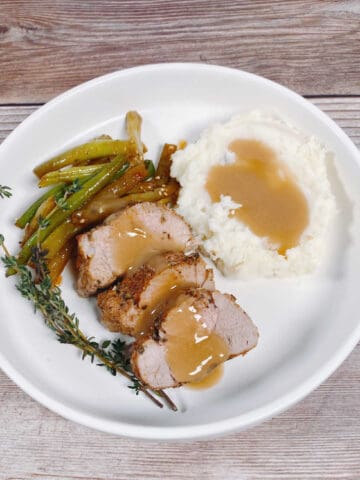
- Garlic Herb Pork Tenderloin40 Minutes
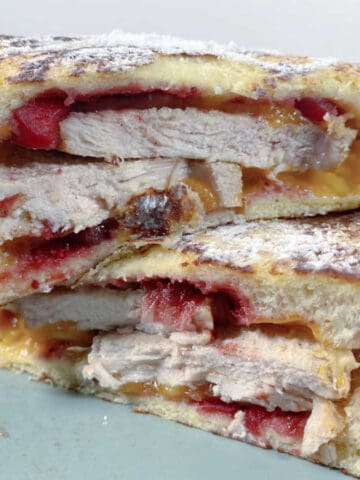
- Turkey Cranberry Monte Cristo Sandwiches11 Minutes
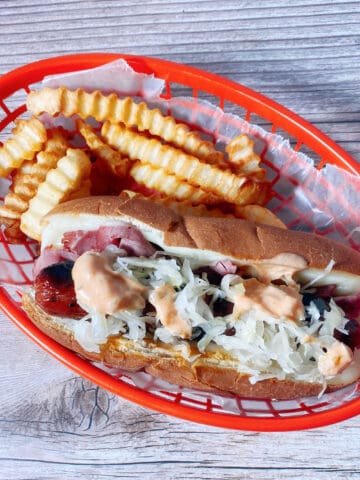
- Reuben Hot Dogs15 Minutes
See more 30 minute meals →